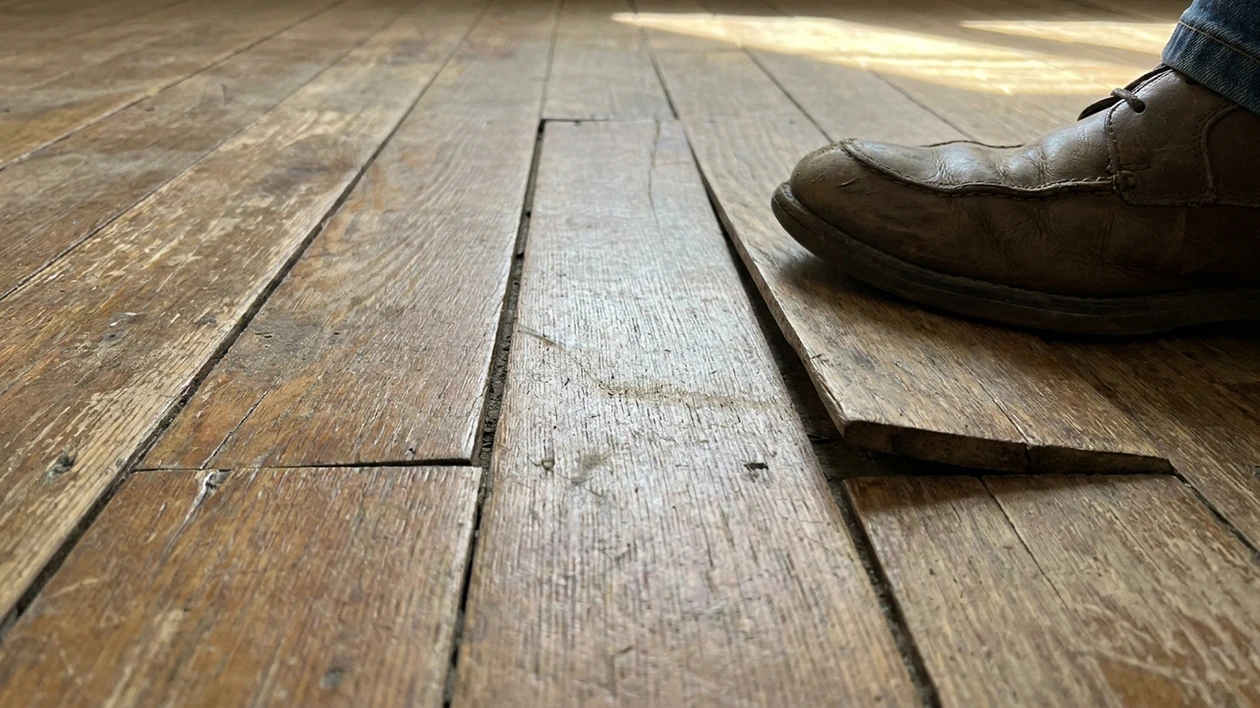
A squeaky floor is usually caused by timber subfloor movement. As boards and joists shrink and shift with changes in moisture, the nails holding everything together loosen, and timber rubs against metal every time you walk over the spot. Occasionally a squeak signals termite damage, but most squeaks can be fixed permanently without lifting a single floorboard, using break-off screws, dry lubricants or subfloor shims.
Do squeaky floors mean termites?
A squeaky floor usually means normal timber shrinkage and friction, not termites. However, if the squeak comes with spongy floorboards, hollow-sounding timber or sudden sagging, it may point to termite damage or structural damage. Assess the floor before you attempt any surface repair.
Sydney sits in CSIRO’s medium risk zone for termites. That matters here. Older homes on brick piers, with timber bearers and joists over an open subfloor, are the structure termites go for.
The 2-minute squeak versus termite test
Step 1: The bounce test. Step heavily on the squeaky spot. Does the floor yield, flex or feel spongy underfoot? (Yes = warning sign.)
Step 2: The tap test. Tap the floorboard with the handle of a screwdriver. Does it sound distinctly hollow compared with the boards around it? (Yes = warning sign.)
Step 3: The visual inspection. Check the skirting boards near the squeak for pinholes, blistered or bubbling paint, and rippled timber. If you can access the subfloor, look at the brick piers and foundation walls for mud tubes, which are thin earthen tunnels running vertically up the brickwork.
What your results mean
| Test result | What it indicates | What to do next |
|---|---|---|
| Fails 0 tests | Normal house settling and timber movement | Move to the repair methods below |
| Fails 1 test | Possible localised damage or a loose joist | Inspect the subfloor before drilling anything |
| Fails 2 to 3 tests | High risk of termite or structural damage | Stop. Do not drill or screw into the floor. Book a licensed pest inspection |
Why the tap test works
It seems odd that tapping a board can reveal damage you cannot see. CSIRO’s guidance on managing termites explains it. Termites hollow timber out from the inside while deliberately leaving the outer shell intact, because that shell holds in the humidity they need to survive. CSIRO describes the remaining skin of timber as potentially wafer-thin. The board looks completely sound from above and sounds hollow when you tap it, which is why the tap test picks up damage that a visual inspection misses entirely.
One correction to the advice you will see repeated online. Most guides tell you to look for frass, the gritty pellets that termites push out of small holes. Frass is produced by drywood termites, which are mainly a concern in humid subtropical areas.
Sydney is different. CSIRO notes subterranean termites are the most common type in Australia and cause most structural damage, and they leave shelter tubes instead. These are thin mud tunnels built over materials they cannot eat, such as concrete, brickwork and the ant caps on top of piers. In a home on brick piers with a ventilated subfloor, the shelter tube is the signal to look for first.
Termites will not resolve on their own, and driving screws into damaged timber achieves nothing except hiding the problem. If your floor fails the bounce or tap test, get a pest inspection before spending a cent on repairs.
Can you fix squeaky floors without removing flooring?
Yes. You can fix squeaky floors without removing the flooring by using break-off screws that snap off below the surface of the timber, locking the loose board tightly to the joist. You can also apply a dry lubricant to reduce friction, or insert shims from the subfloor space underneath.
Here are three methods, ordered from most permanent to least.
Method 1: The break-off screw technique (carpet, timber and vinyl)
You will need: stud finder, drill, break-off screw kit, painter’s tape, colour-matched timber putty.
- Locate the joist. Use a stud finder to find the joist directly beneath the squeaky spot. Mark it with painter’s tape.
- Drill the pilot hole. Using the alignment tool supplied with the kit, drill a pilot hole through the floorboard and into the joist below.
- Drive the screw. Drive the scored screw through the fixture until it bottoms out. This pulls the subfloor tight against the joist and removes the gap causing the movement.
- Snap the head. Snap the top of the screw off with the tool in the kit. The screw head now sits safely below the surface of the floor.
- Conceal (timber floors only). Fill the small remaining hole with colour-matched timber putty.
This is the most permanent of the three, and the only one that works from above.
Method 2: The talcum or graphite powder trick (timber and laminate)
You will need: talcum powder or powdered graphite, a soft paintbrush.
- Pinpoint the exact seam between the boards where the squeak originates.
- Pour a generous line of powder along the seam.
- Work the powder deep into the gap with the paintbrush.
- Walk over the area several times to drive the powder down, then wipe away the excess.
Be clear on what this is: a friction reducer, not a structural fix. It quietens the floor. It does not fix it.
Method 3: Shimming from the subfloor (where you have access)
Before you commit to this method, check whether your subfloor is genuinely workable. CSIRO’s construction guidance specifies at least 400 mm of crawl space clearance to the underside of the bearer on elevated floors in most cases, precisely so the space can be ventilated and visually inspected. Tighter than that and you will not get a body, a torch and a hammer in there safely. Go top-down instead.
Where you do have clearance, have a second person walk on the squeaky spot while you watch from below. You will see the subfloor lift away from the joist. Coat a timber shim with construction adhesive and tap it gently into the gap. Do not force it, because driving the shim too hard will lift the floor above and create a new problem.
Try this now
- Walk the room and mark the two or three exact spots causing the noise with sticky notes.
- If you have timber floors, try the powder trick right now. It takes three minutes and gives you immediate, if temporary, relief.
Success looks like this: you step on the marked spot with your full body weight and the floor stays completely silent.
The most common mistake: driving standard timber screws through the floorboards from above. The head stays exposed, it is a hazard to bare feet, it looks poor, and without a clearance hole it often fails to pull the subfloor tight anyway. It sits alongside the other mistakes to avoid when renovating your home, where a quick fix creates a bigger job later.
How do professionals fix squeaky floors? (DIY versus builder comparison)
Access decides everything. Builders fix squeaky floors from underneath wherever they can get access, using shims, adhesives and extra bracing between the joists. If you have a plasterboard ceiling below the floor, top-down kits are the sensible choice. If you have an accessible subfloor space, work from below is always the better repair.
| DIY above-floor kit | Professional subfloor repair | |
|---|---|---|
| Best for | Localised squeaks, carpeted floors, upstairs bedrooms | Widespread squeaking, bouncy or sagging floors, ground floors with subfloor access |
| Access required | None, works from above | Subfloor space with adequate clearance (at least 400 mm to the underside of the bearer) |
| Fixes the cause? | Yes, at that fixing point | Yes, across the whole affected span |
| Typical spend | Around $40 to $80 for a kit (indicative only) | Several hundred dollars upwards, depending on span and access (indicative only) |
| When it is the wrong call | Floor is spongy, sagging or fails the tap test | Squeak is a single isolated board upstairs |
Your next action
Check your subfloor access now. If you can see the exposed timber underneath the squeaky area and you have room to work, buy timber shims and construction adhesive and fix it from below. If the space is sealed off, the clearance is tight, or you are on an upper storey, buy a top-down break-off screw kit instead.
If the squeaking is widespread, the floor feels bouncy across a whole room, or you are seeing gaps opening between boards and skirting, that is no longer a squeak problem. It is a subfloor or structural problem, and it needs a licensed builder to assess it properly. Before you call anyone, run the three-step test in our guide to how to level a floor in an old house. It separates a floor that is sound but sloped from one where the framing underneath is failing.
Why is my floor squeaking when I walk on it?
Floors squeak because of friction. Changes in humidity cause the timber in your subfloor and joists to expand and contract through the year. That movement gradually loosens the nails holding everything down. When you walk across the floor, the loose timber slides up and down against the metal nail shafts, and you hear it.
Sydney homeowners get some good news here. Timber Queensland’s guidance, prepared with the Australasian Timber Flooring Association, notes that seasonal humidity swings in Sydney are much lower than Melbourne’s. Bigger swings mean more movement. Sydney floors move less than most.
The ATFA puts a number on the threshold. Where the internal environment varies by no more than about 3% in moisture content between summer and winter, the movement is generally not noticeable. Above that, it starts to show. As a rule of thumb, a 3% moisture content change produces around 1% dimensional change, which is roughly 0.8 mm across an 80 mm board and about 1.80 mm across a 180 mm board.
That matters for diagnosis. If you are in Sydney and a floor is squeaking loudly and persistently, seasonal humidity alone is a fairly weak explanation. It usually means something more specific: loose or undersized fixings, joists spaced too far apart, or a localised moisture source under the floor such as a leaking pipe, poor site drainage, or subfloor vents that have been blocked by a garden bed or a paved path. Those are worth chasing down, because they will keep causing problems long after the squeak is quietened. The vents are the one most people underestimate, because most older Sydney homes fall well short of the vent area the code now requires. Our guide to subfloor ventilation has the formula and a worked example.
The key takeaway: squeaks are rarely a sign that your house is failing. They are a sign of timber movement and ageing fasteners. Replacing loose nails with threaded screws is the only permanent mechanical solution, but in Sydney it is worth asking what is driving the movement in the first place.
When a squeak is telling you something bigger
A single squeaky board is a Saturday morning job. A floor that flexes underfoot is different. So are boards pulling away from skirtings, or doors in the same room starting to stick. Get a licensed builder to look at it before it becomes a subfloor replacement.
Jonathan Jamu runs every job himself. Licence 359604C, Master Builders Association member, two generations of family building behind him. We work across Sydney’s Inner West on home renovations, extensions, heritage restoration and custom home builds, with fixed prices, guaranteed timelines and a 7-year structural warranty.
If your floors are telling you something you would rather understand than ignore, call Jonathan on 0414 595 933 for a consultation.